
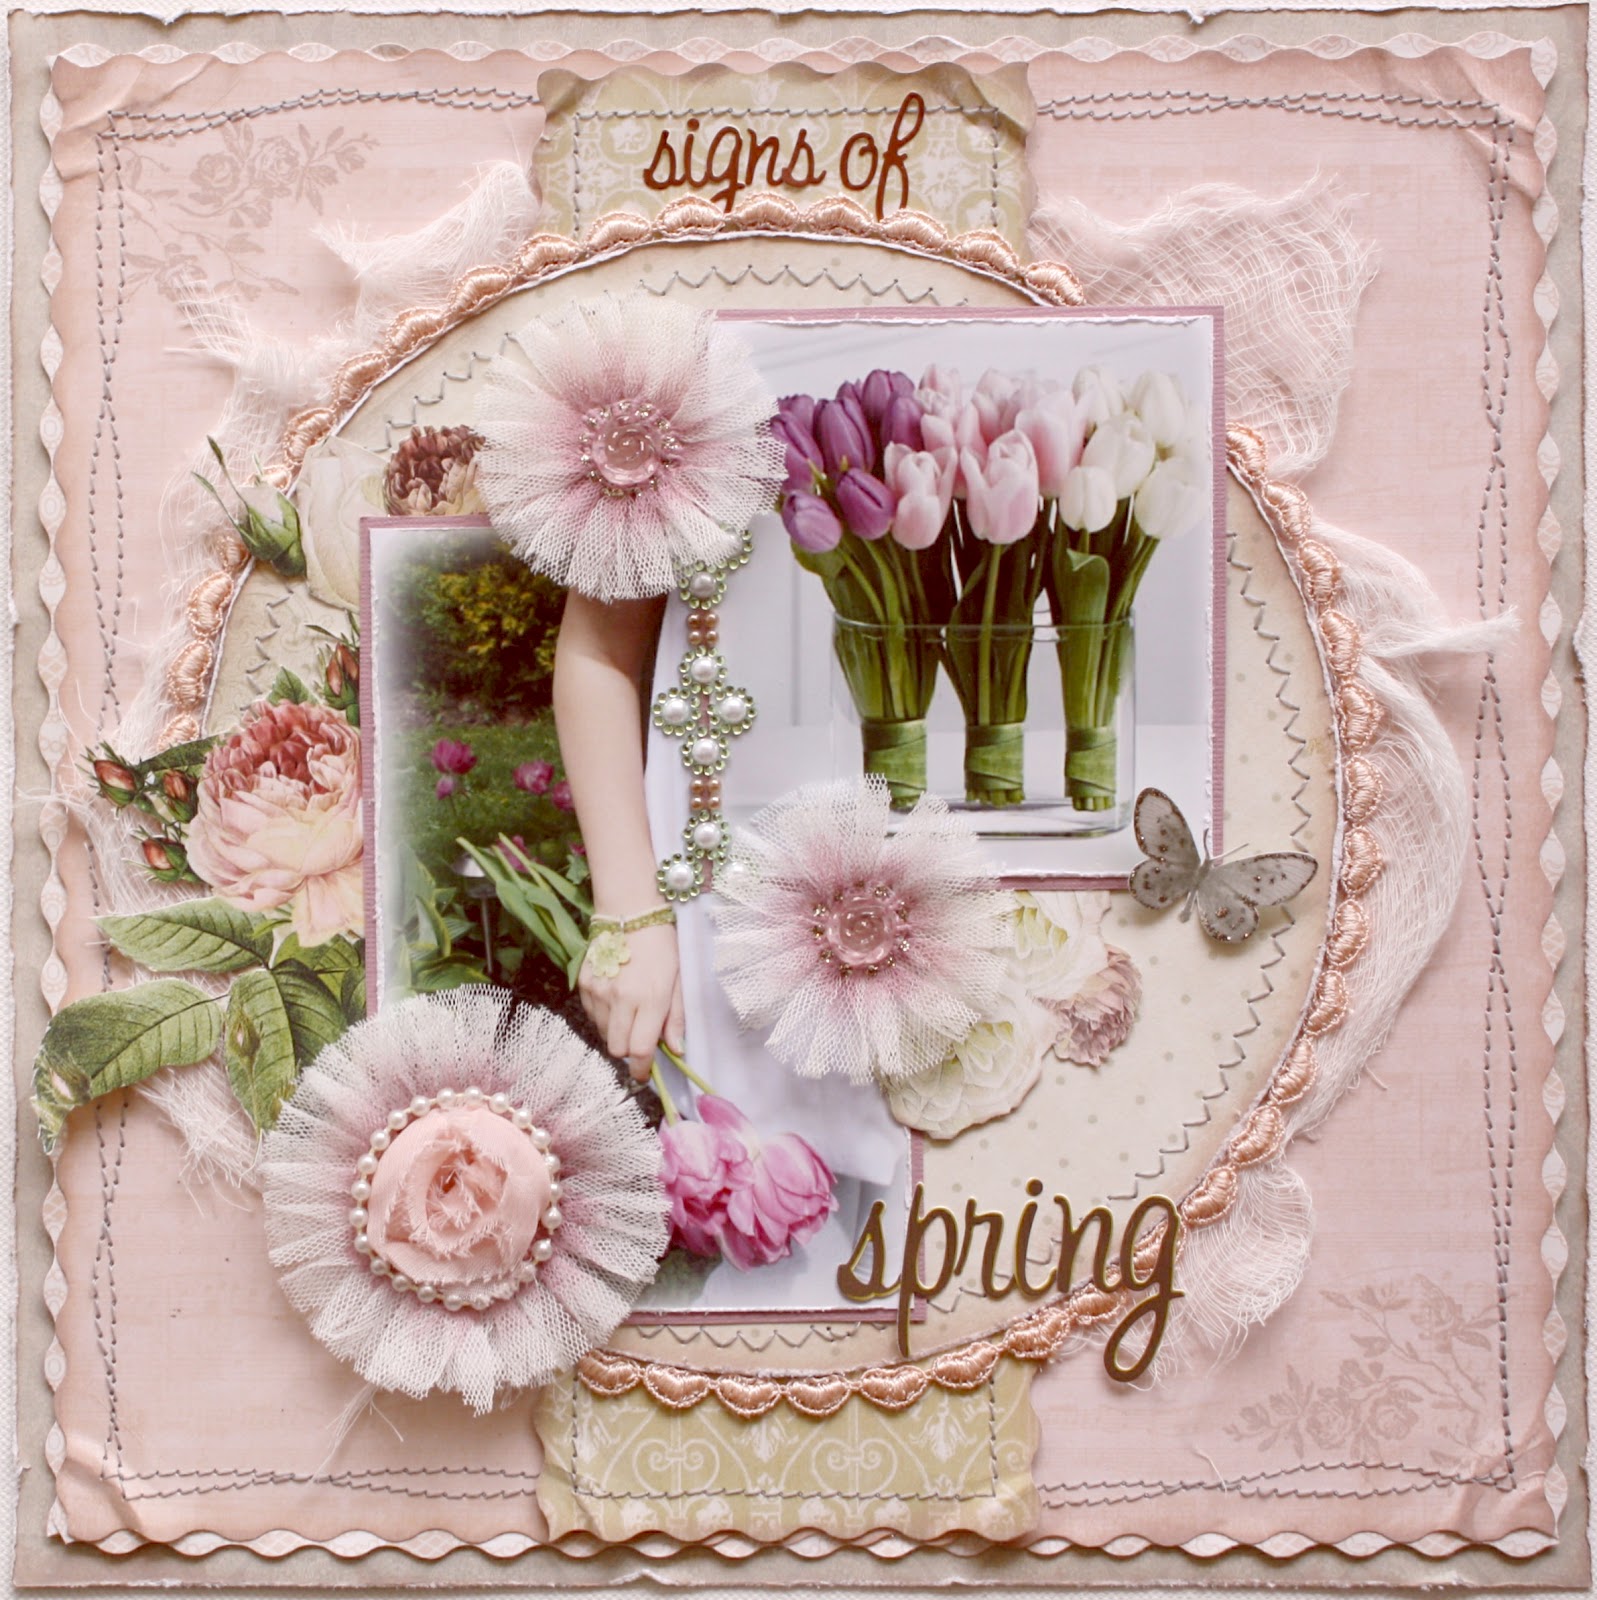
Spring is here! And for me, one of my favourite things is the early Spring tulips we have planted around our home. A few years back we planted hundreds of tulips so that the girls can enjoy picking Spring blooms for our home, friends, family and teachers. I so enjoyed having my first crack at using the new "In Love" collection papers and embellishments from Webster's Pages. While they are just perfect for wedding photo's (and you WILL be seeing wedding photo's done with this collection come end of May.....my nephew is getting married!)...I do like this collection for other 'girly' type layouts! I thought I would also share a fun little tutorial on how to use the Websters Pages trims that come with this collection and make some handmade blooms.
I personally love blooms that have layers of color. So I took the pretty white fringe trim from the In Love trim kit and added a little pink tint to it with some ink. Here is a picture of the bloom I will be showing the steps to. Just follow the instructions in the windows to make your own! :)


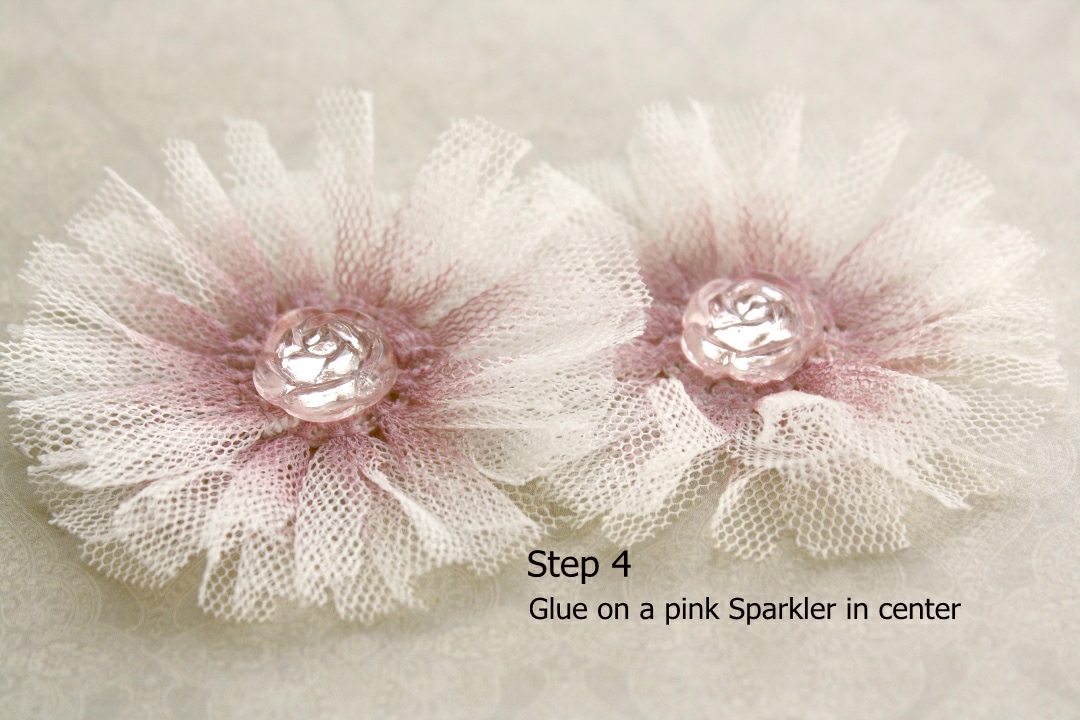


You can of cours use a different ink for trim and a complementary color Sparkler for the center (the sparklers come in many colors) depending on what color bloom you want for your page.
NOTE: I get a lot of questions as to where to find Websters Pages products. The best way is to let your local scrapstore owner know that you are interested in getting these products in (Check out the Websters Pages Inspire Me site for information on getting these products to your local stores ...you can earn yourself free product if you get your local store to carry WP products) OR You can always order your product online directly from the Webster's Pages Website.....you'll notice that I try to link all the products I use on my WP pages to the website so that you can easily find the product you are looking for, just click on the product name :)
Thanks for popping in again! Happy Friday everyone, I hope you all have an amazing/creative weekend! xx

congratulations ! Your flowers are fabulous !
ReplyDeletelove those embellies, the tutorial is great
ReplyDeleteThe moment I saw this page yesterday, I just couldn't stop looking at it. It's definitely one of my favourites of yours! Sooo gorgeous!
ReplyDeleteI really have to try these they are gorgeous!
ReplyDeleteSimply beautiful! I just got some trim like that at a craft show! Better get to work and make some of those delicious flowers, thanks for sharing, Marilyn.
ReplyDeleteBeautiful page my friend!
ReplyDeleteI wish my local shop would take my advice and start selling Webster...It`s a nice shop , lots of products but no Webster there.
es precioso el layout, las fotos son lindas y el tutorial de las flores es genial, muchas gracias, eres un sol, mostrándonos como hacerlas, gracias. Besos.
ReplyDeleteBeautiful layout! Love the tutorial and can't wait to give it a try!
ReplyDeleteohhh beautiful blooms!
ReplyDeleteJust gorgeous. Going to try the blooms. Your tutorials are easy to follow. Thank you so much. Love your work. Your an amazing designer and as always, you inspire me. Have a blessed day!
ReplyDeleteMy oh My Gabi those blooms are so beautiful! love your pretty springlike page too, so very delightful and girly! look forward to seeing you scrap the wedding piccies :))
ReplyDeleteBeautiful page. I really love how you have covered the face in the photo and have just the arm showing, it creates a sense of mystery. Love the tulle flowers too, so pretty, TFS. xx
ReplyDeleteOh those flowers are AWESOME!! THANK YOU!
ReplyDeleteWOW!!! What a gorgeous page...I sooo love the pretty flowers you made...thanks for the tutorial!!! I have got to give these a try!!!!
ReplyDeletetotally awesome page , love the flower blooms you made
ReplyDeleteso delightful and pretty :)
Stunning layout!!! LOVE your creativity with your details!!!
ReplyDeleteThis is so so pretty and feminine. I love it and THANKS so much for the tutorial on the ballerinas. I must try that!!
ReplyDeleteThis is an incredibly gorgeous page! Thank you for showing how you made the flowers.
ReplyDeleteThe page is gorgeous, and so is the flowers! I have been making my own flowers now for two days, so that when I need one they are ready! I'll have to add this technique to my flower making! Thank you! Love Penny
ReplyDeleteSorry that should have read "so are the flowers". Love Penny
ReplyDeleteGorgeous Gabrielle!!! Tulips are one of my faves as well, and these photos are beautiful!!
ReplyDeleteooooooo absolutely gorgeous and romantic wow. I shall be using some of your tips. thanks for visiting my blog!
ReplyDeleteAbsolutely stunning layout! Thanks for the mini tutorial! :)
ReplyDeleteGabi, you really need to design your own line!! Those blooms are just gorgeous! Brandin should add them to the WP collection! Call the Gabi's BLooms!!! I love the touch of pink, and you entire page is beautiful. I love your photos, you always have just magical photos, and those beautiful girls make it easy to have such gorgeous photos!!! They look like their Mom!!!
ReplyDeleteLindo, lindo, lindo!!! Adoooro seu blog... I loved .
ReplyDeleteGabrielle,
ReplyDeleteHello Gabrielle,
I wonder what is the size of their projects. Pages are 12 "x 12"?
And the pictures you use, what is the most common size in your work?
I would like to congratulate you for the pages and say that their daughters are beautiful and certainly are an important part in the beauty of the work you do.
a hug
Didi
Hello,
ReplyDeletej'adore votre blog et vos fleurs.
Puis-je mettre le tuto sur un blog que j'anime avec lien vers votre blog ?
Merci de votre réponse.
MAPY